

You followed the henna-indigo hair dye instructions. You waited. You rinsed. And yet — the colour came out lighter than expected or faded within weeks. If that sounds familiar, keep reading.
In Parts 1 and 2 of this series, we explored the science of how henna and indigo bind to your hair. In this final part, I am giving you the practical and science-backed protocol I have refined over more than 10 years — working with hundreds of formulations and helping over 1,000 women achieve flawless grey coverage with pure plant leaf dyes.
The checklist
Long-lasting colour with plant dyes is not one magic trick. It is chemistry, technique and aftercare, working in sequence. When you understand that, everything becomes easier to control. And remember — you are working with natural ingredients, so embrace the occasional subtle variation. That is the beauty of going natural.
Let's begin:
1. Follow the dye release instructions for henna & indigo
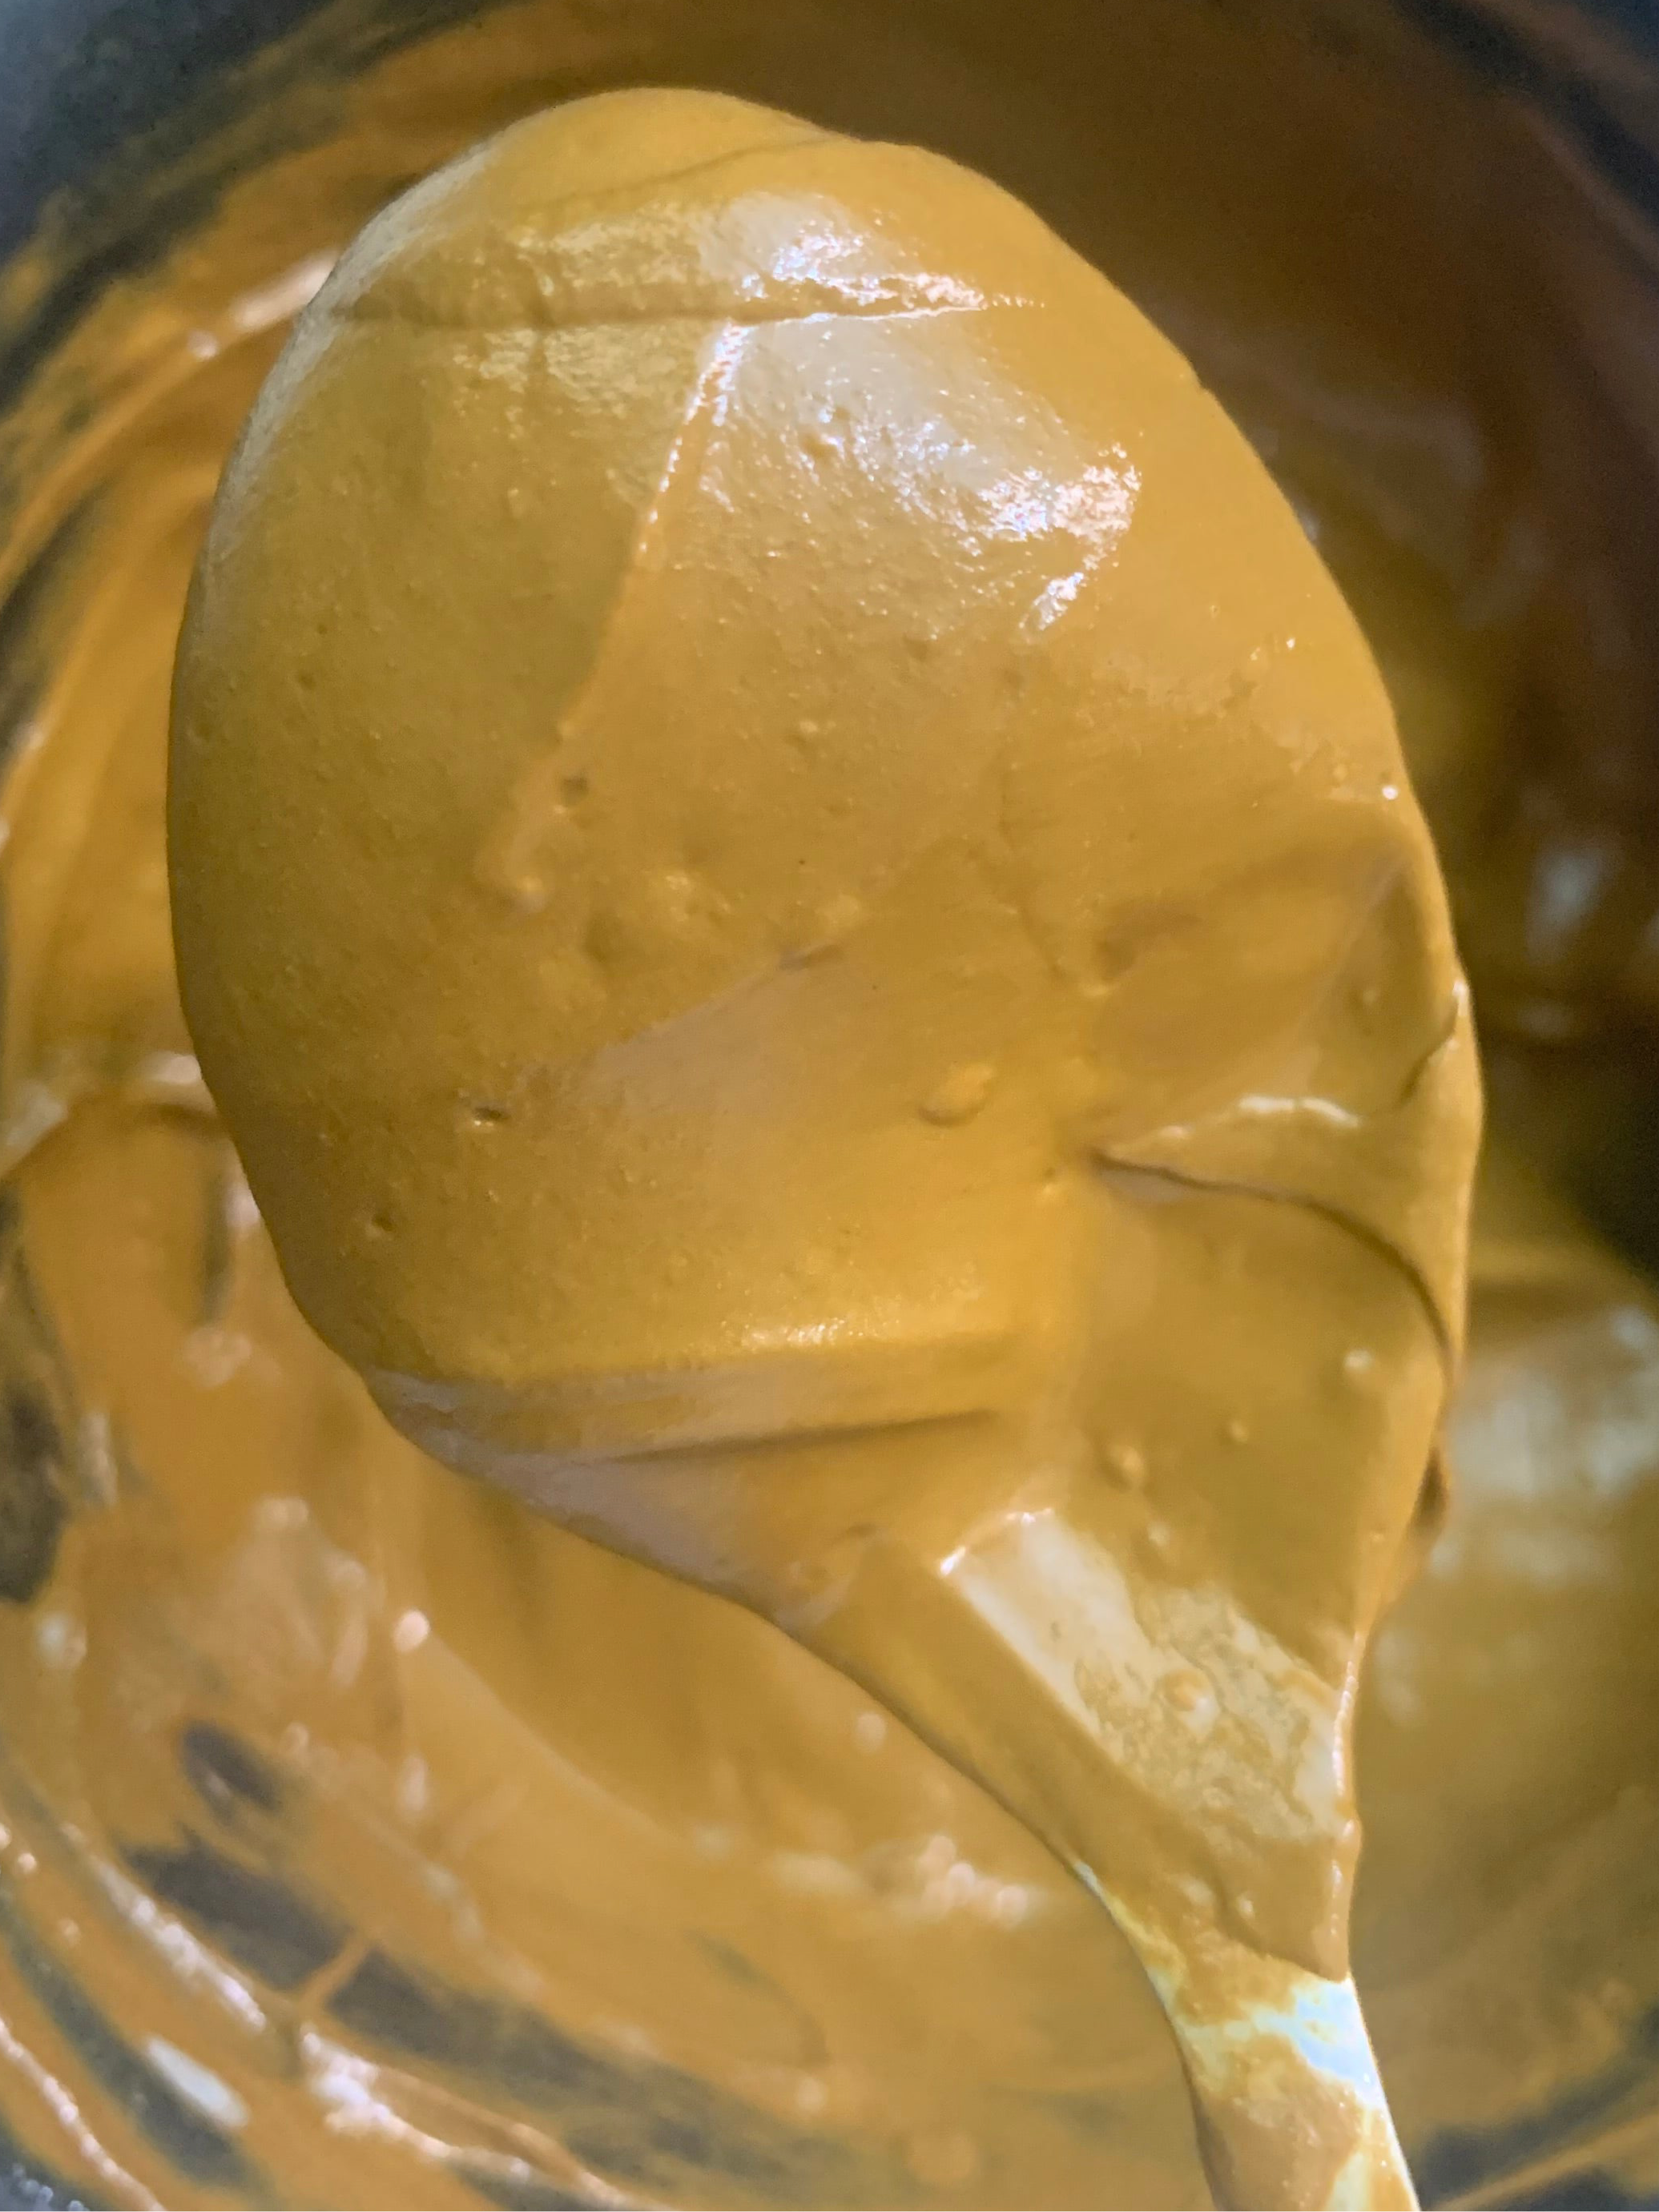
Strictly follow the dye release instructions given for the henna powder and adjust according to temperature. In warmer weather, dye release may happen faster. While in cold temperatures, it may take longer. A simple test to check for dye release is to apply a small dot of soaked henna paste on your finger and look for a pop-orange stain within 10 minutes.
Indigo powder on the other hand is an instant dye and should be mixed right before application.

2. Check your water quality
In case you get chemically treated or hard water, there could be mineral build-up on hair shaft over time which can affect dye uptake. In this case, use a chelating shampoo before your henna-indigo application. This helps remove mineral build-up to allow the dye to migrate smoothly through the cuticles and spread evenly.

3. Use the right water for soaking powders
pH & minerals can directly impact the colour when using pure botanical dyes like SVA. Therefore it is advisable to use distilled water to soak the plant powders. Avoid unfiltered tap water. RO filtered water is fine; distilled water is ideal.

4. Prep your hair: Avoid oil & conditioner before application
Apply henna or henna-indigo on clean hair without oil, heavy conditioner or silicone-based products. The oil and silicones form a hydrophobic coating around the hair shaft which hinders the migration and dye uptake capacity of 'water soluble' precursors of lawsone and indigo pigments. Plant dyes need proper contact with the hair fibre.
In case of oily scalp, make sure to use a chelating shampoo to remove all the grease from the hair before application.

5. Choose the right method for resistant greys
If you have a high percentage of greys around sideburns, front temples and hairline, they are likely resistant to both plant and chemical hair dye. I recommend the below options for you:
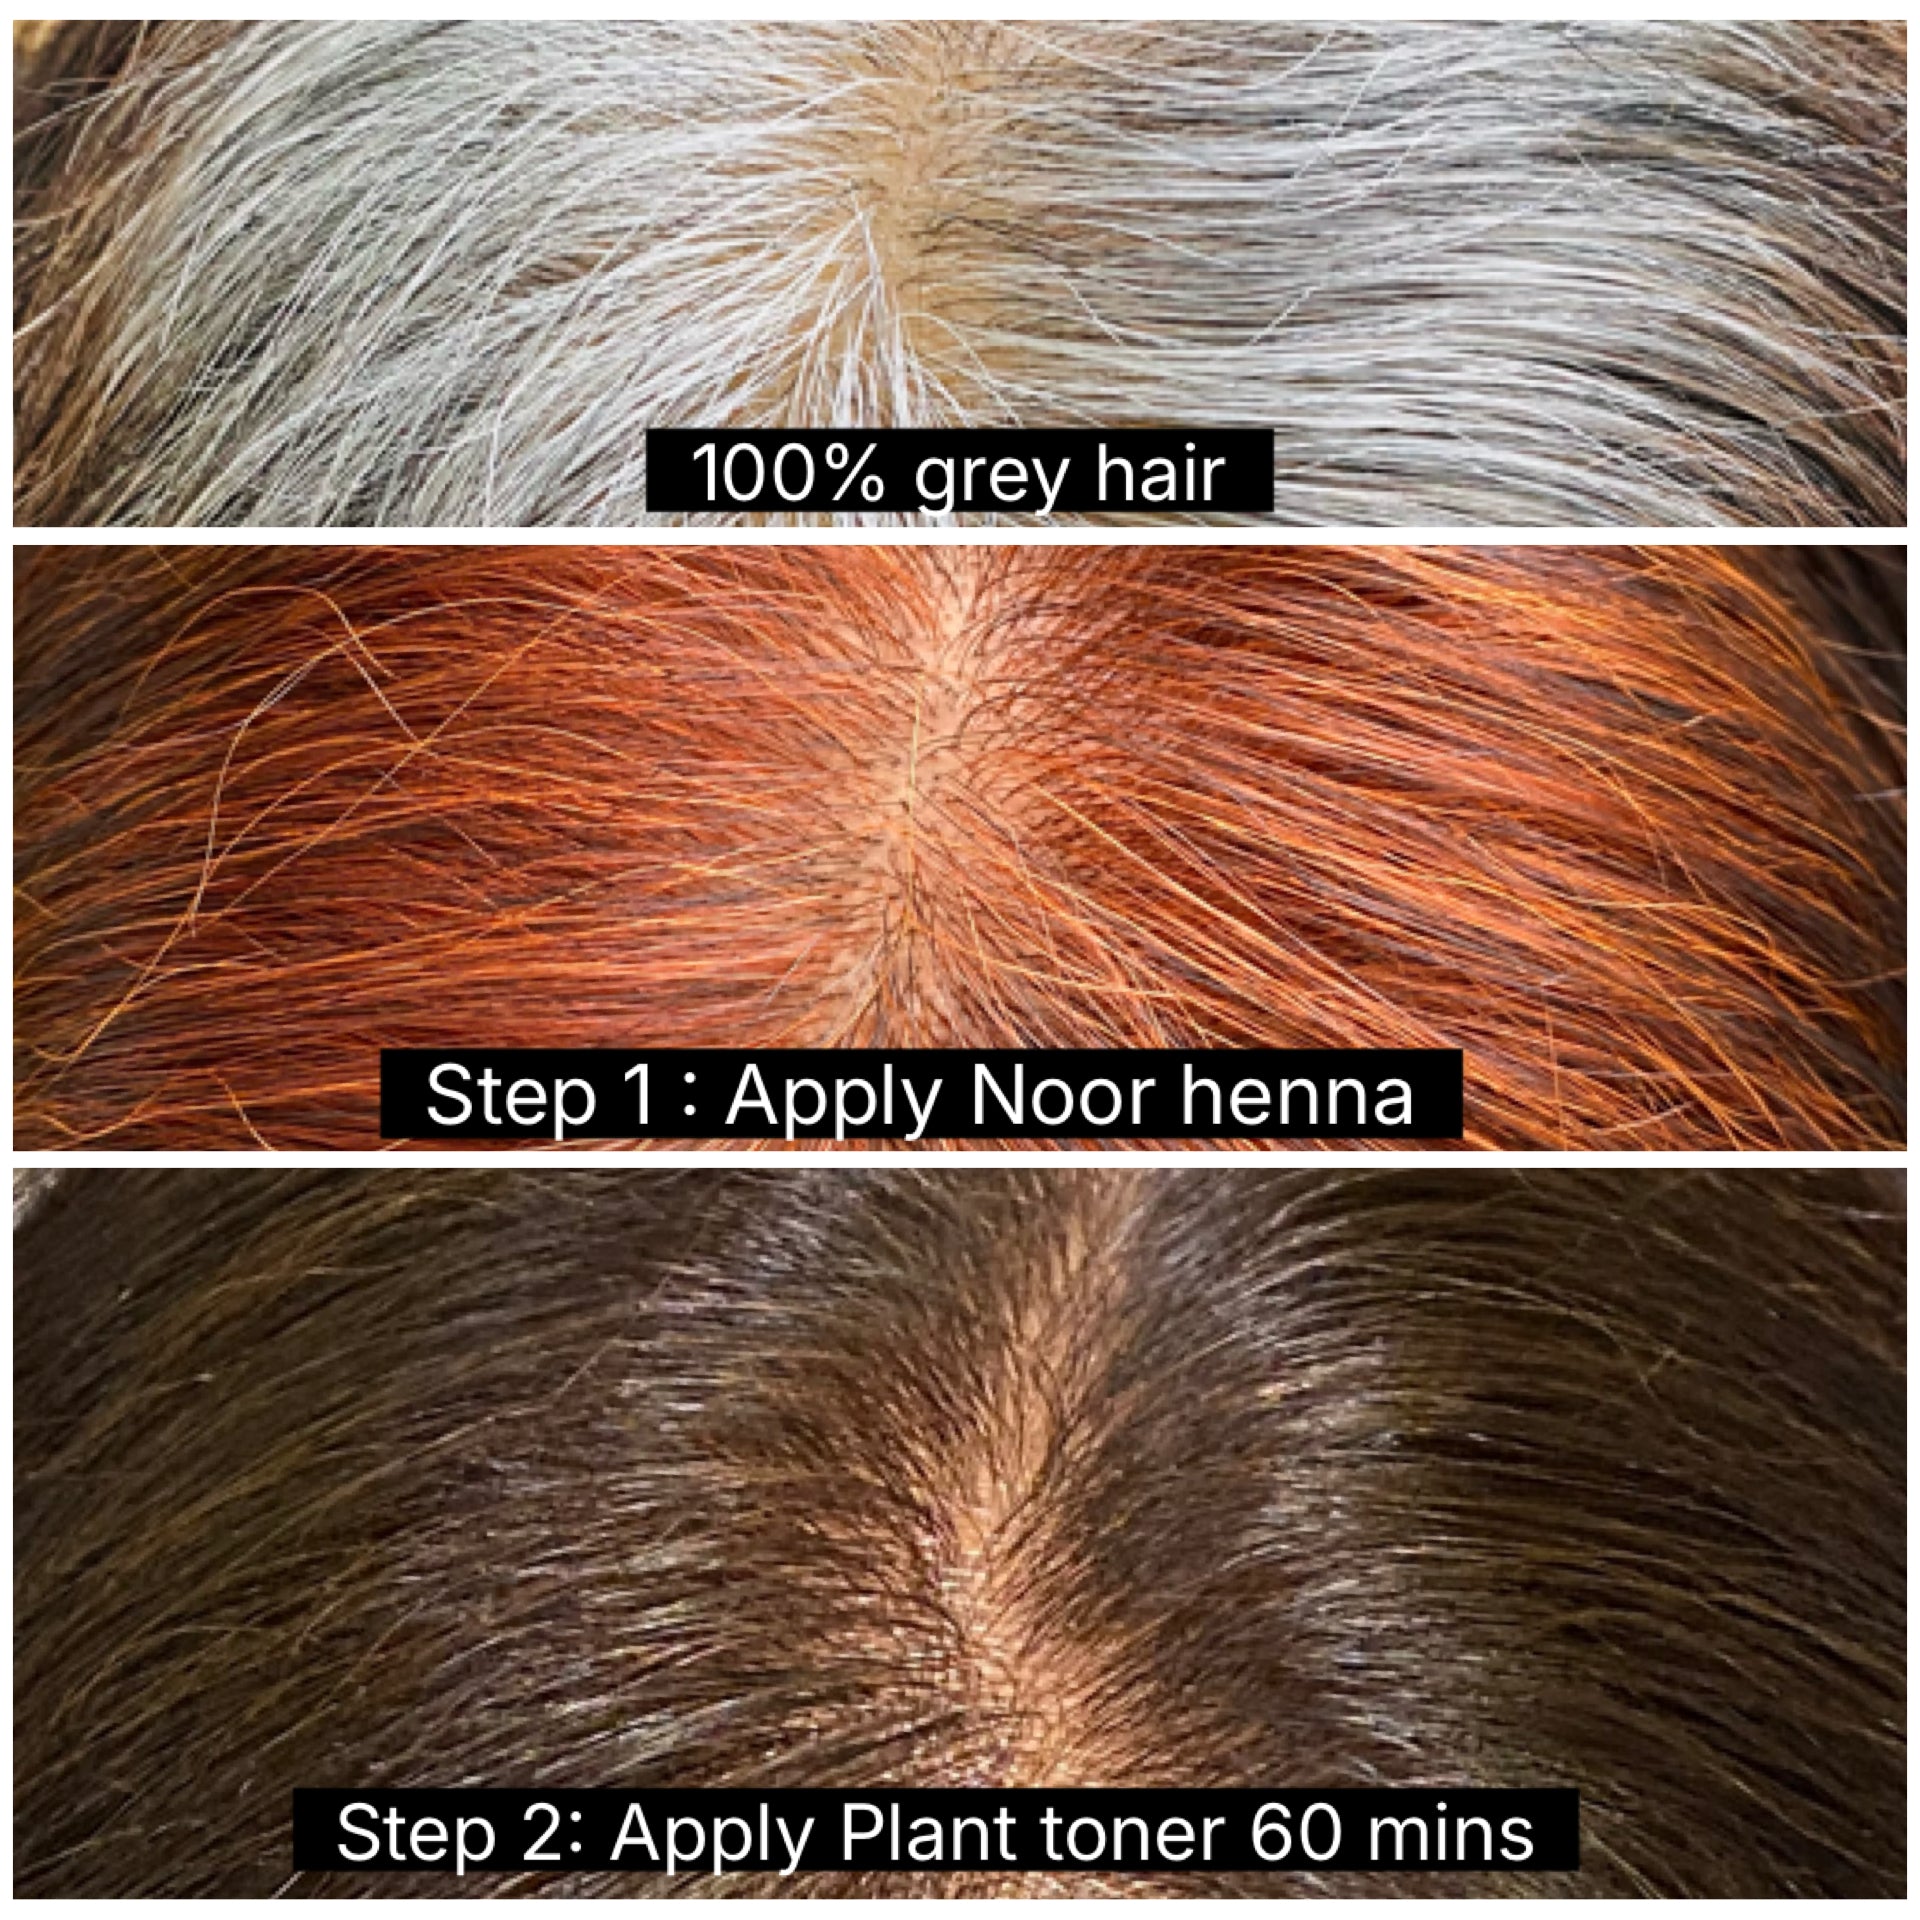
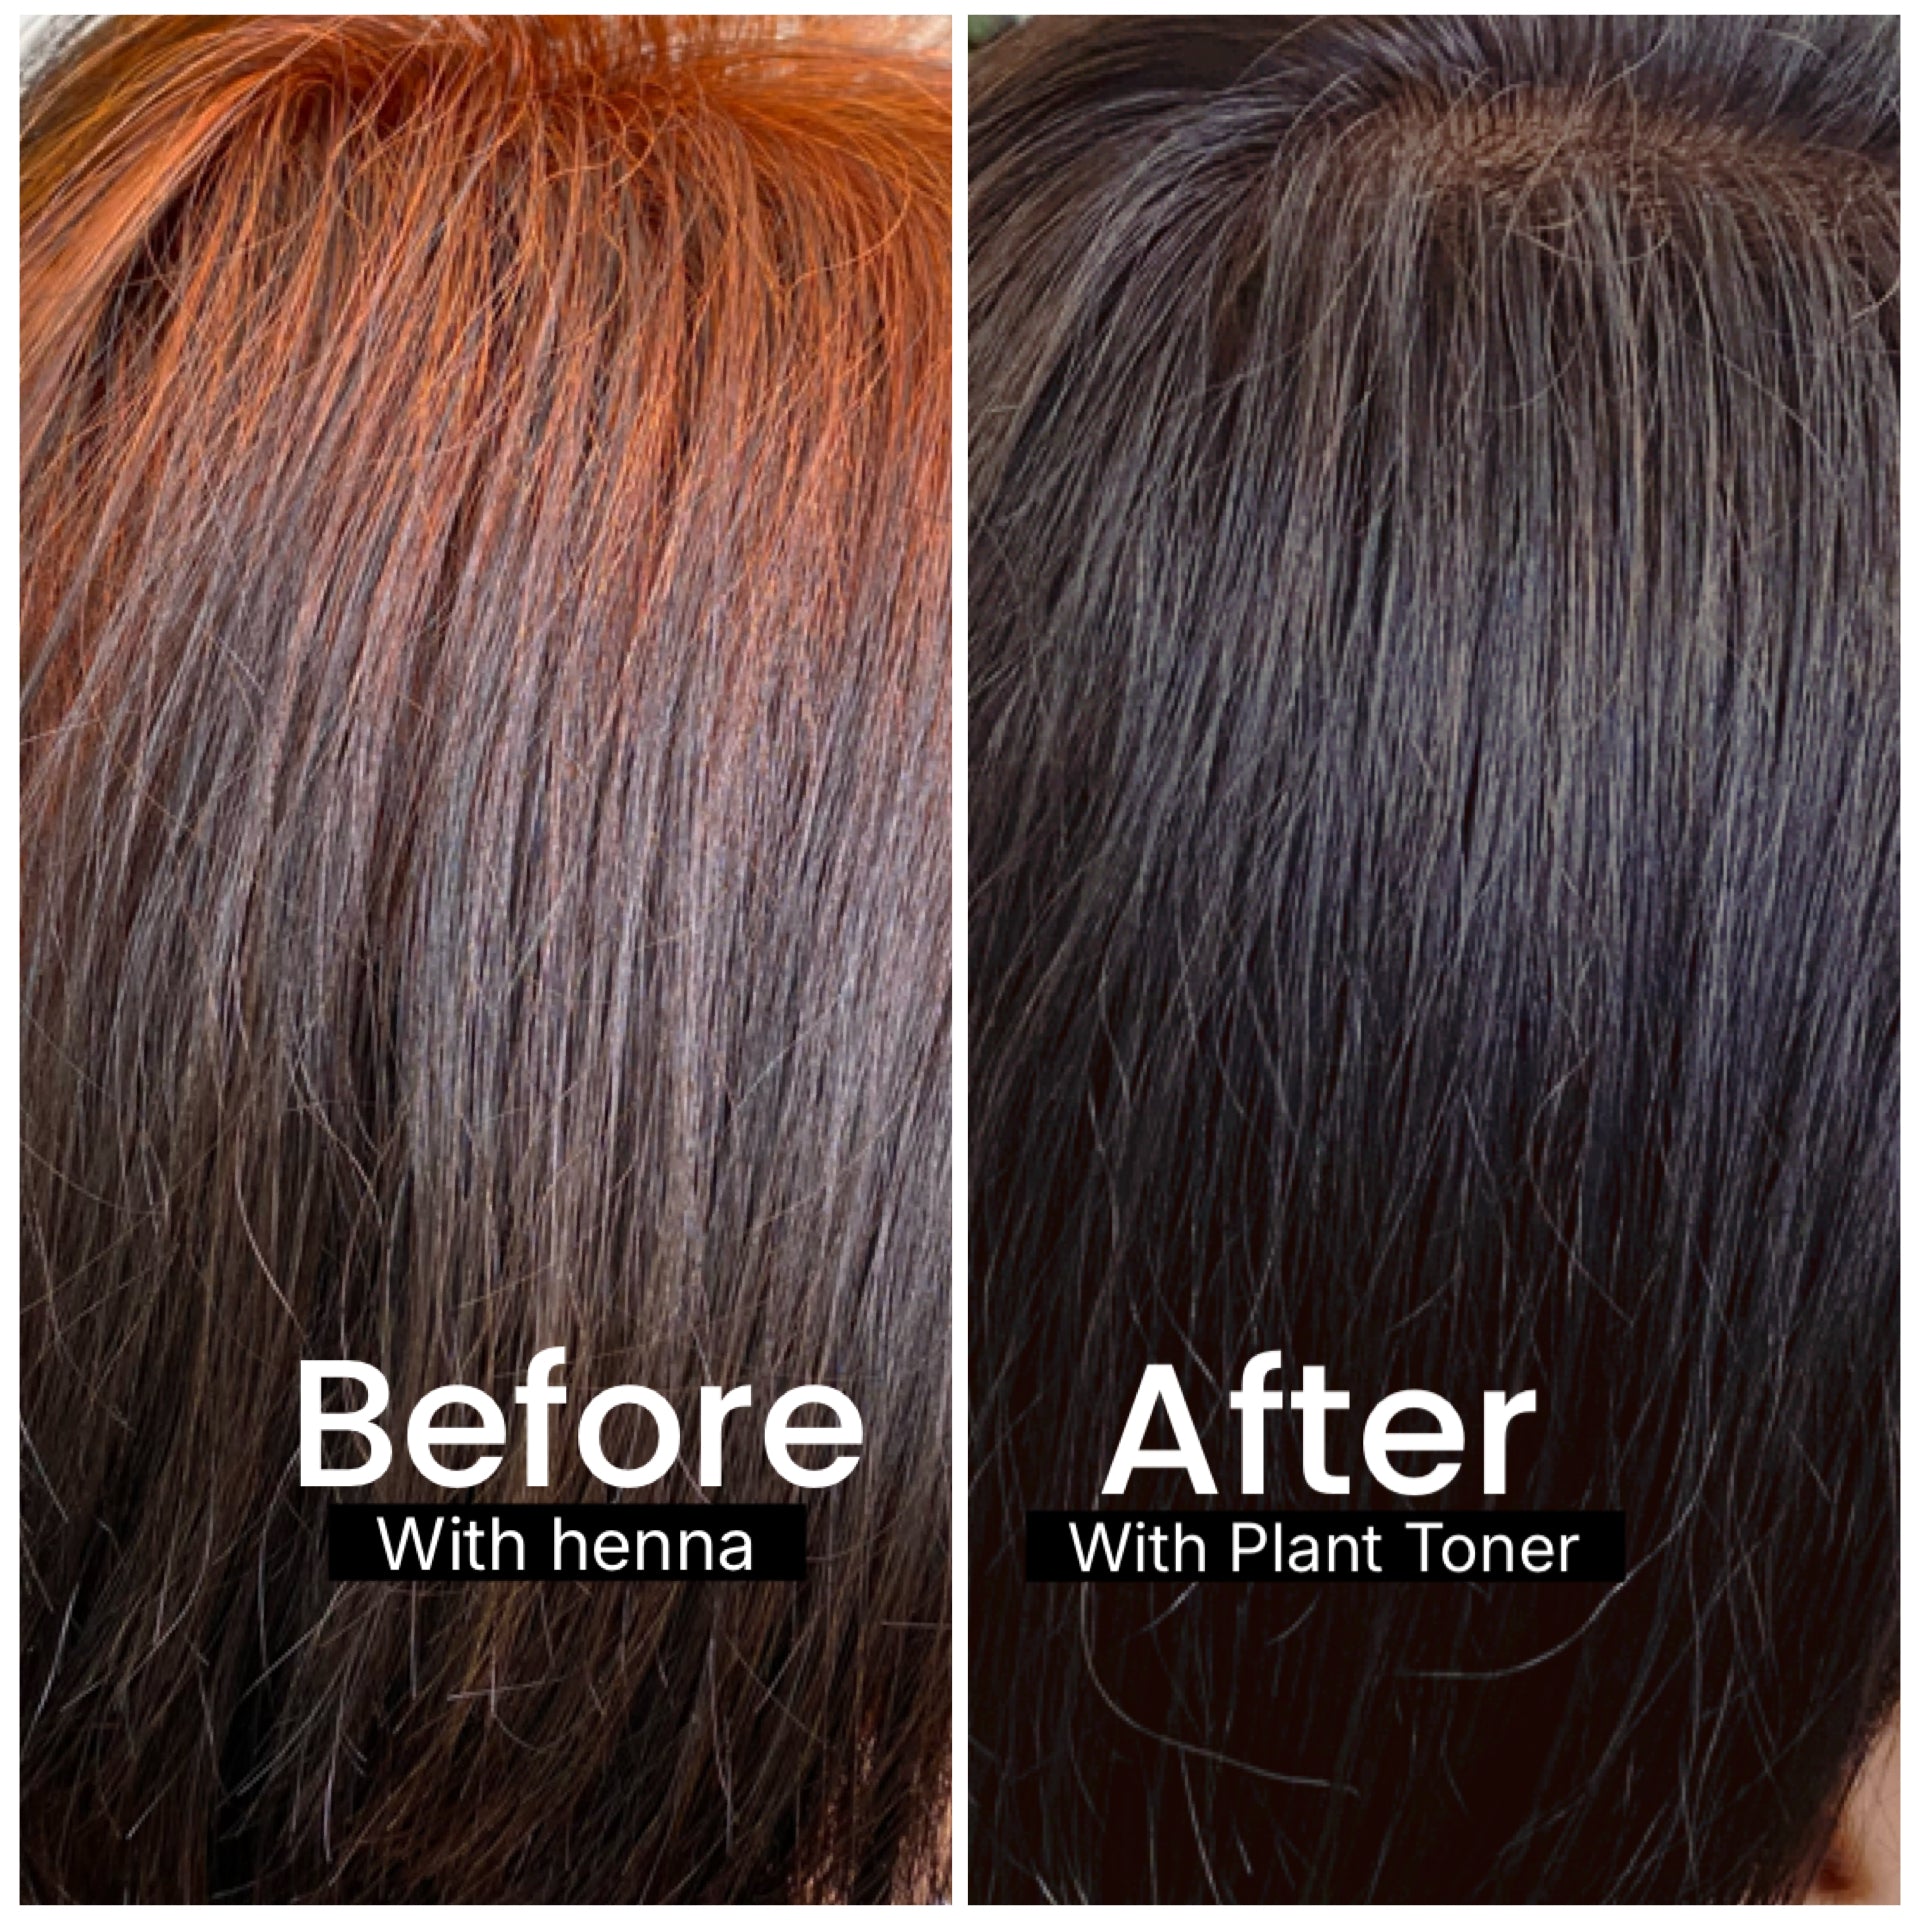
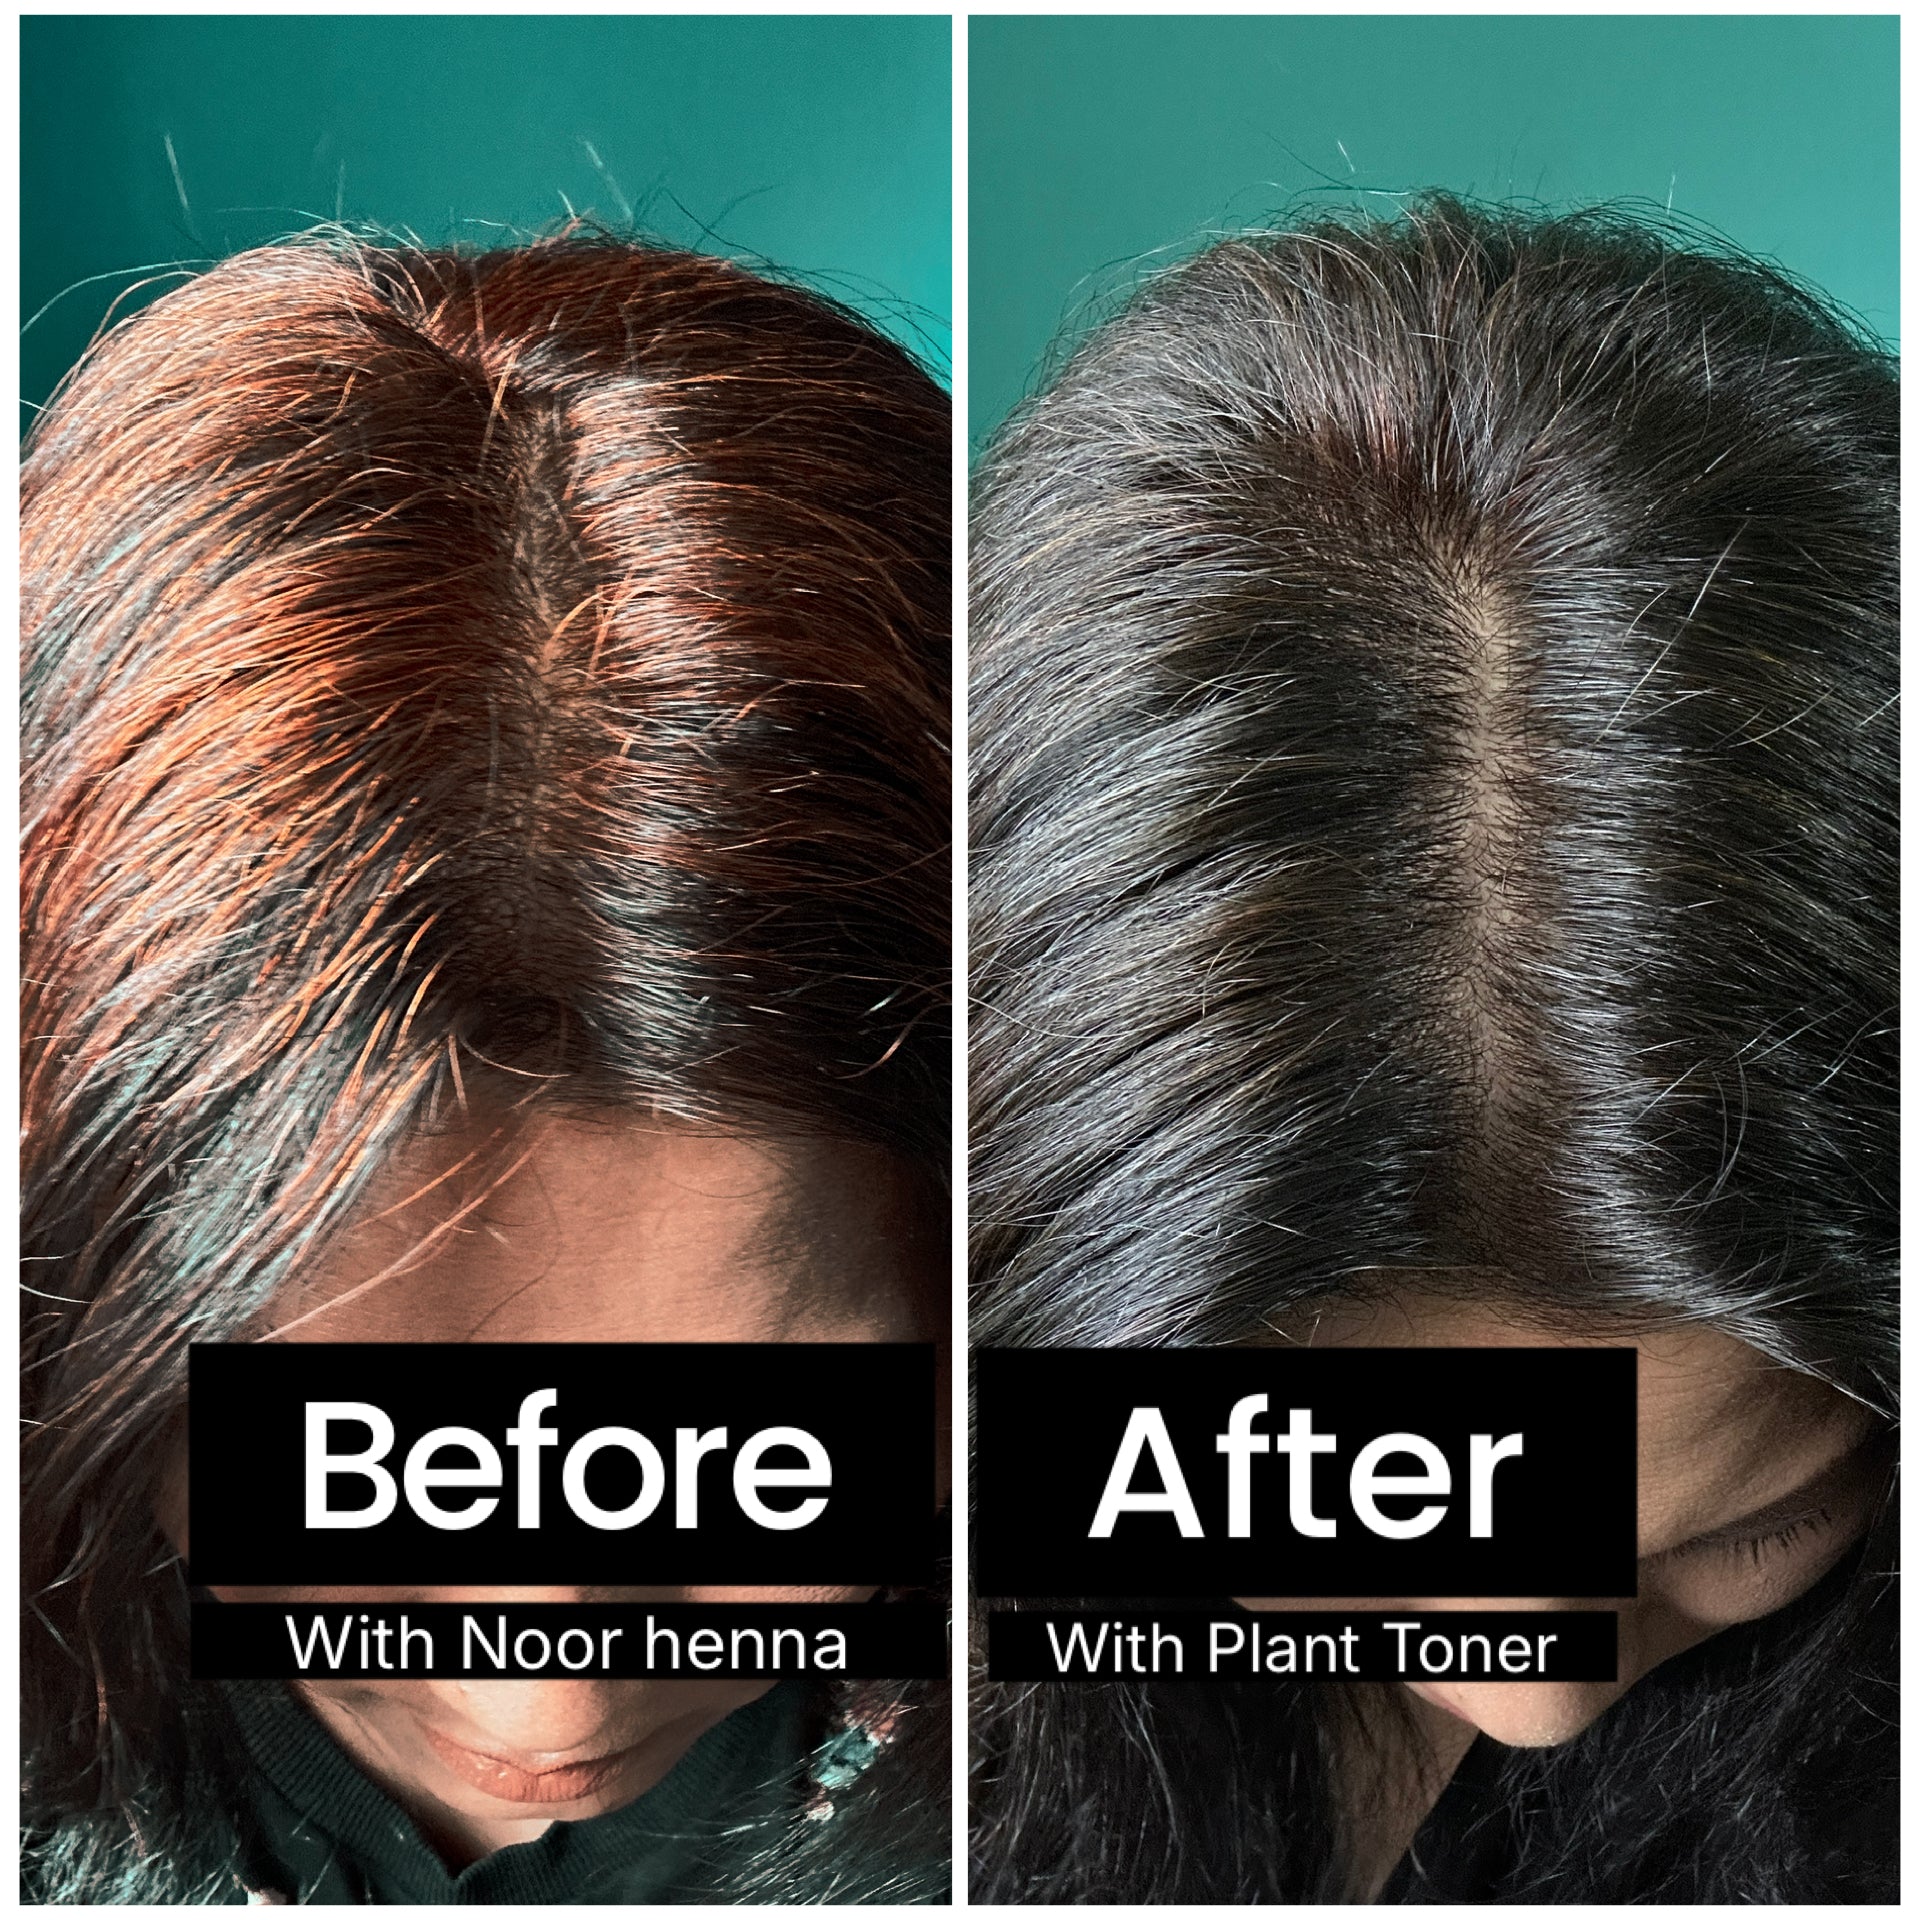
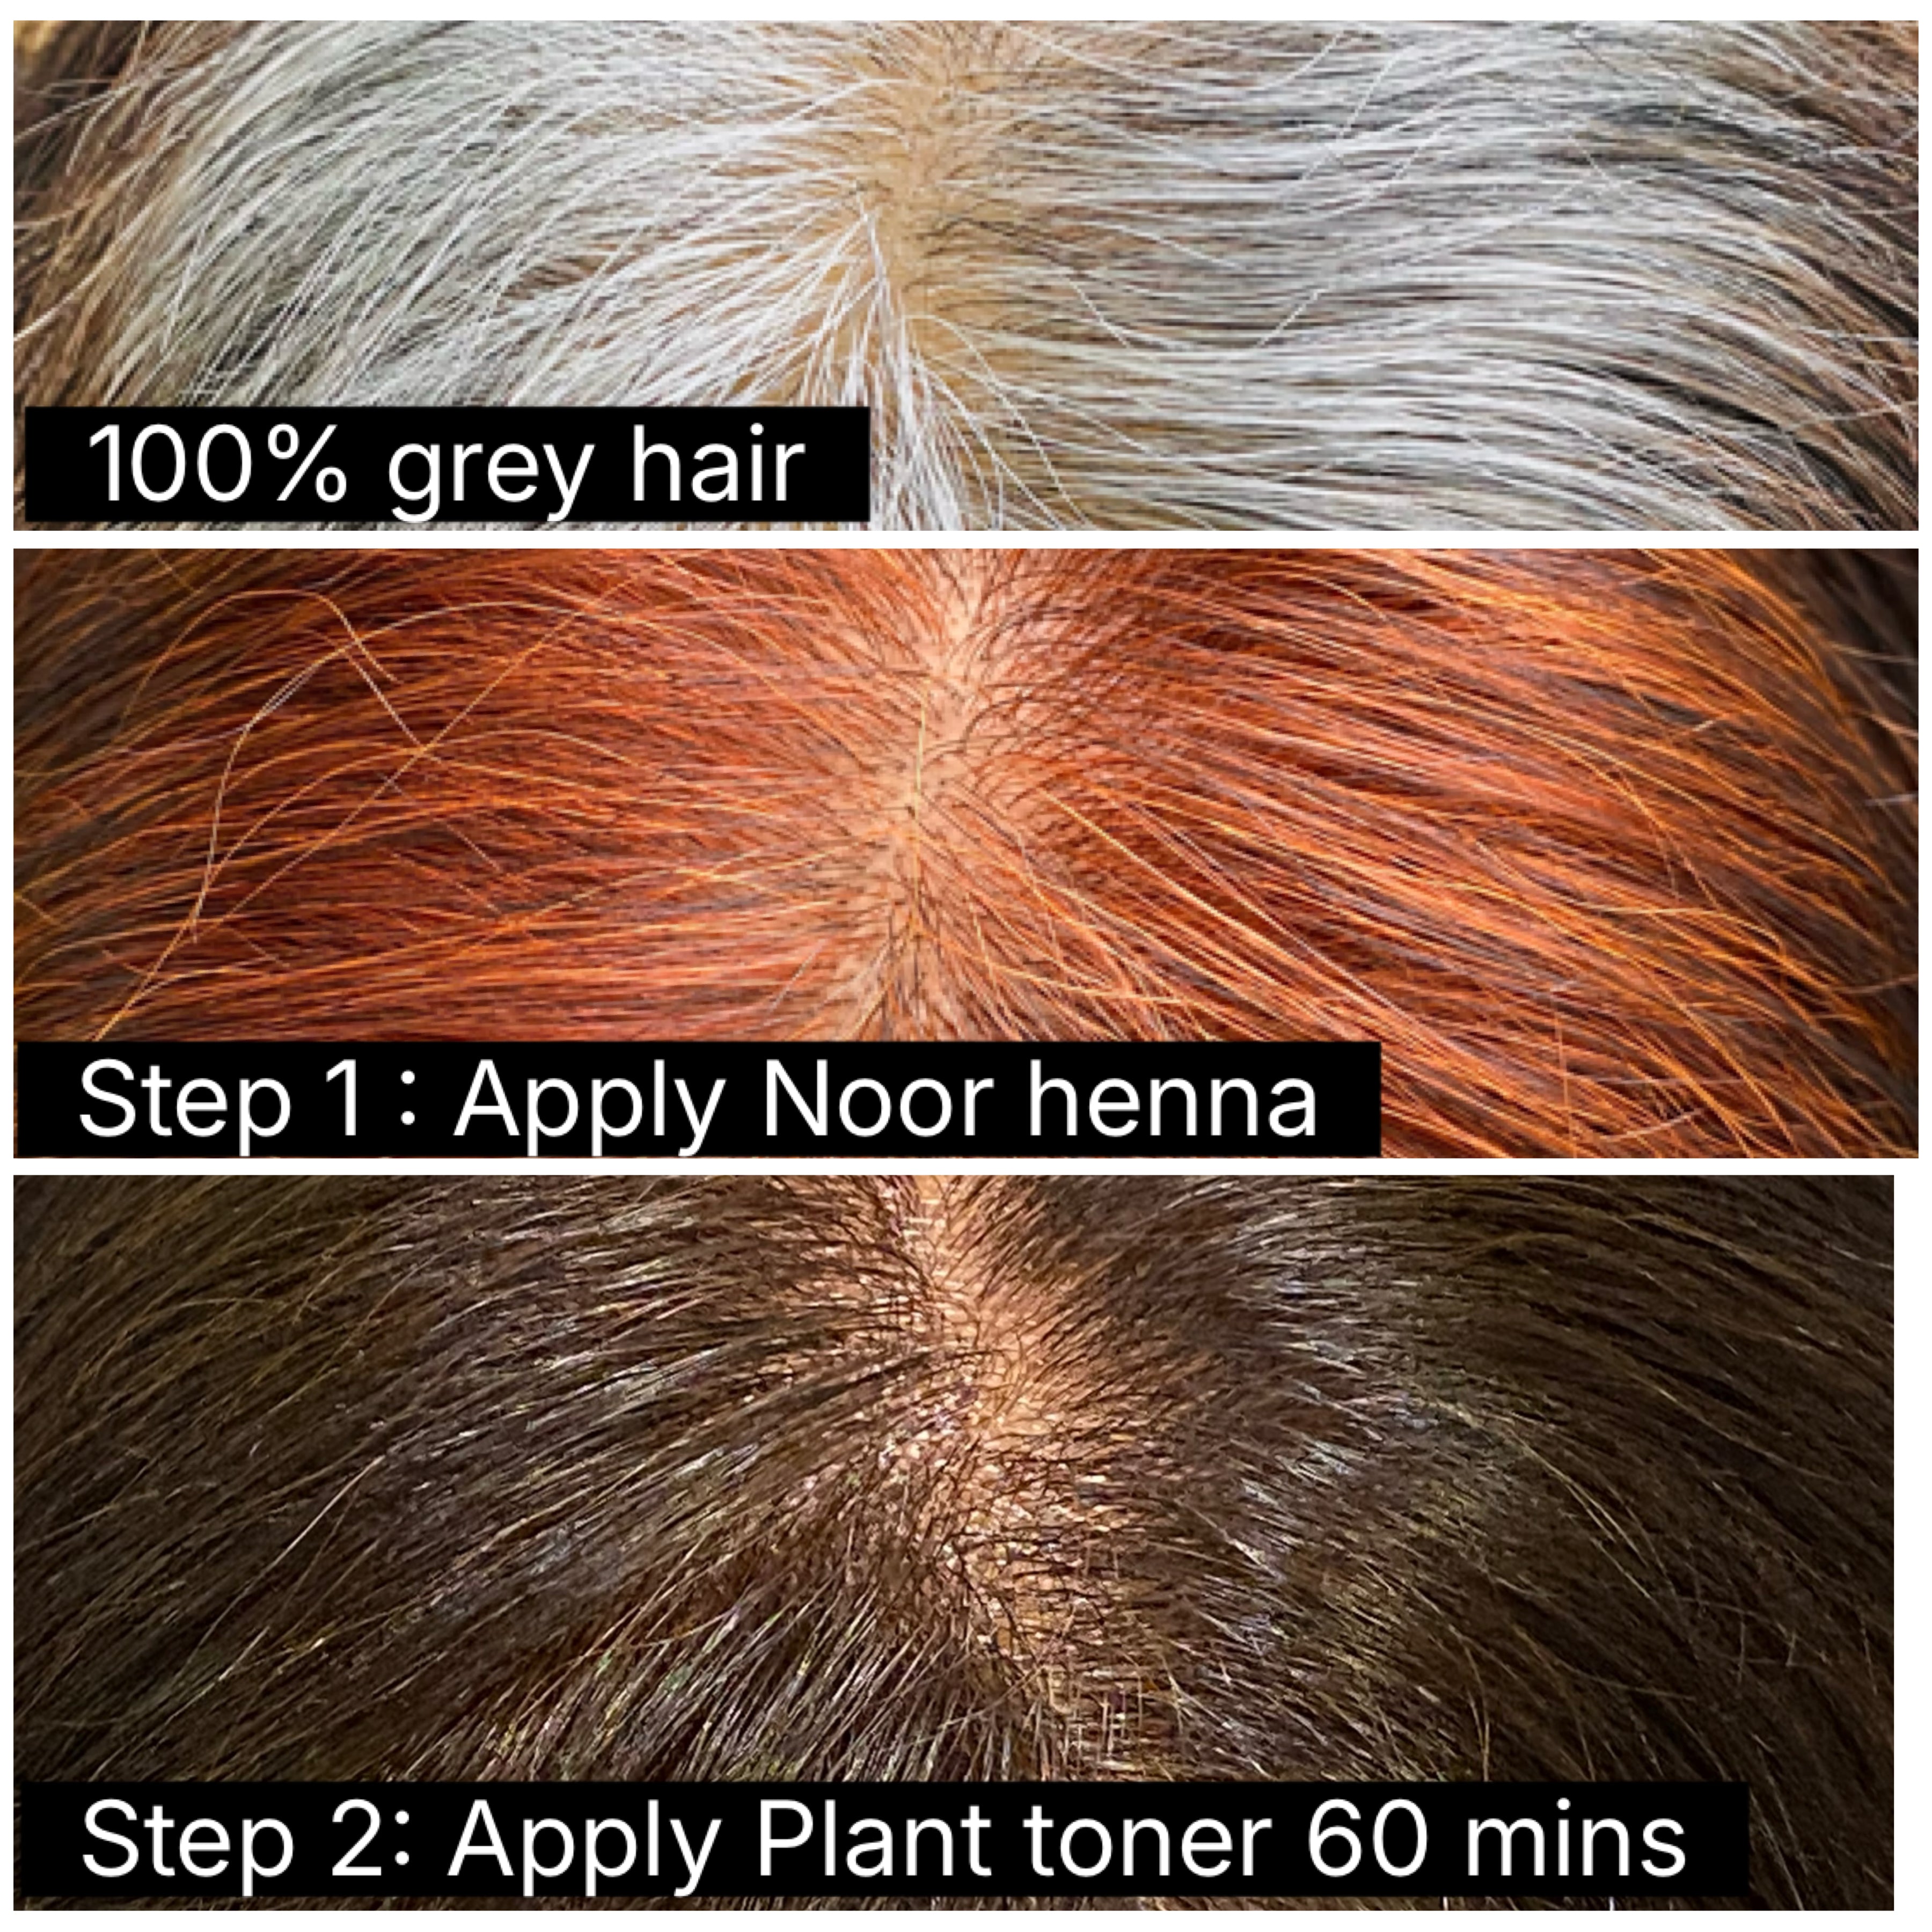
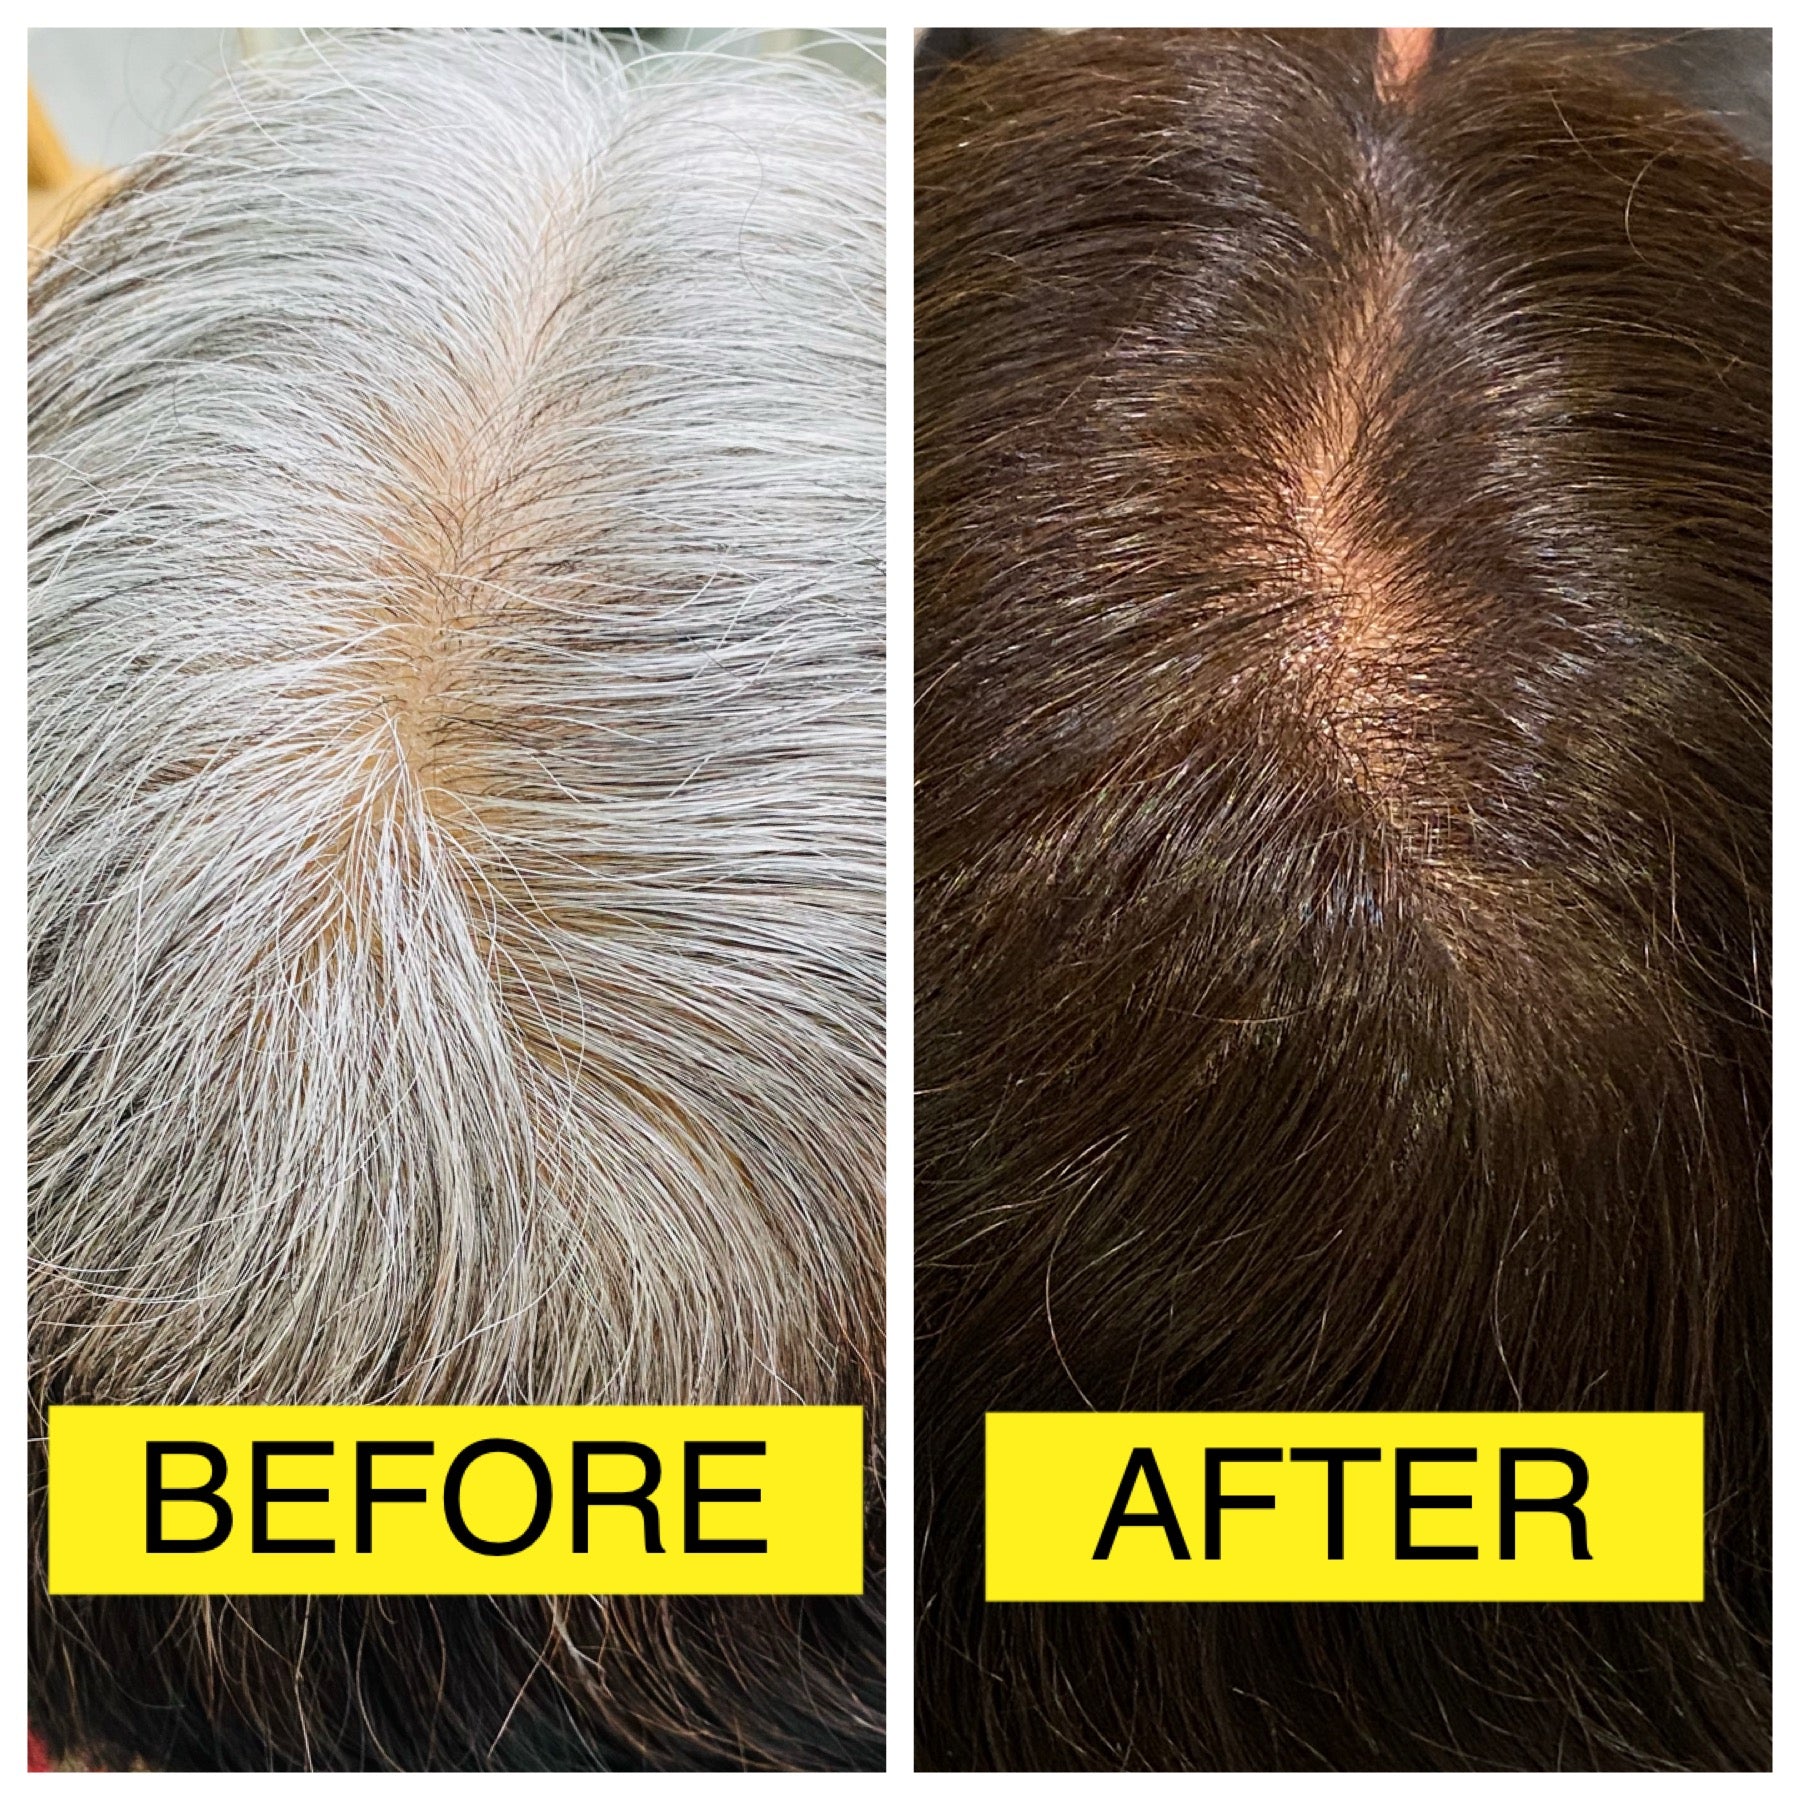
👉 Go for the 2-step process instead of 1-pot mixes. The 2-step method delivers foolproof 100% grey coverage — long-lasting, flexible, and with no guesswork involved.
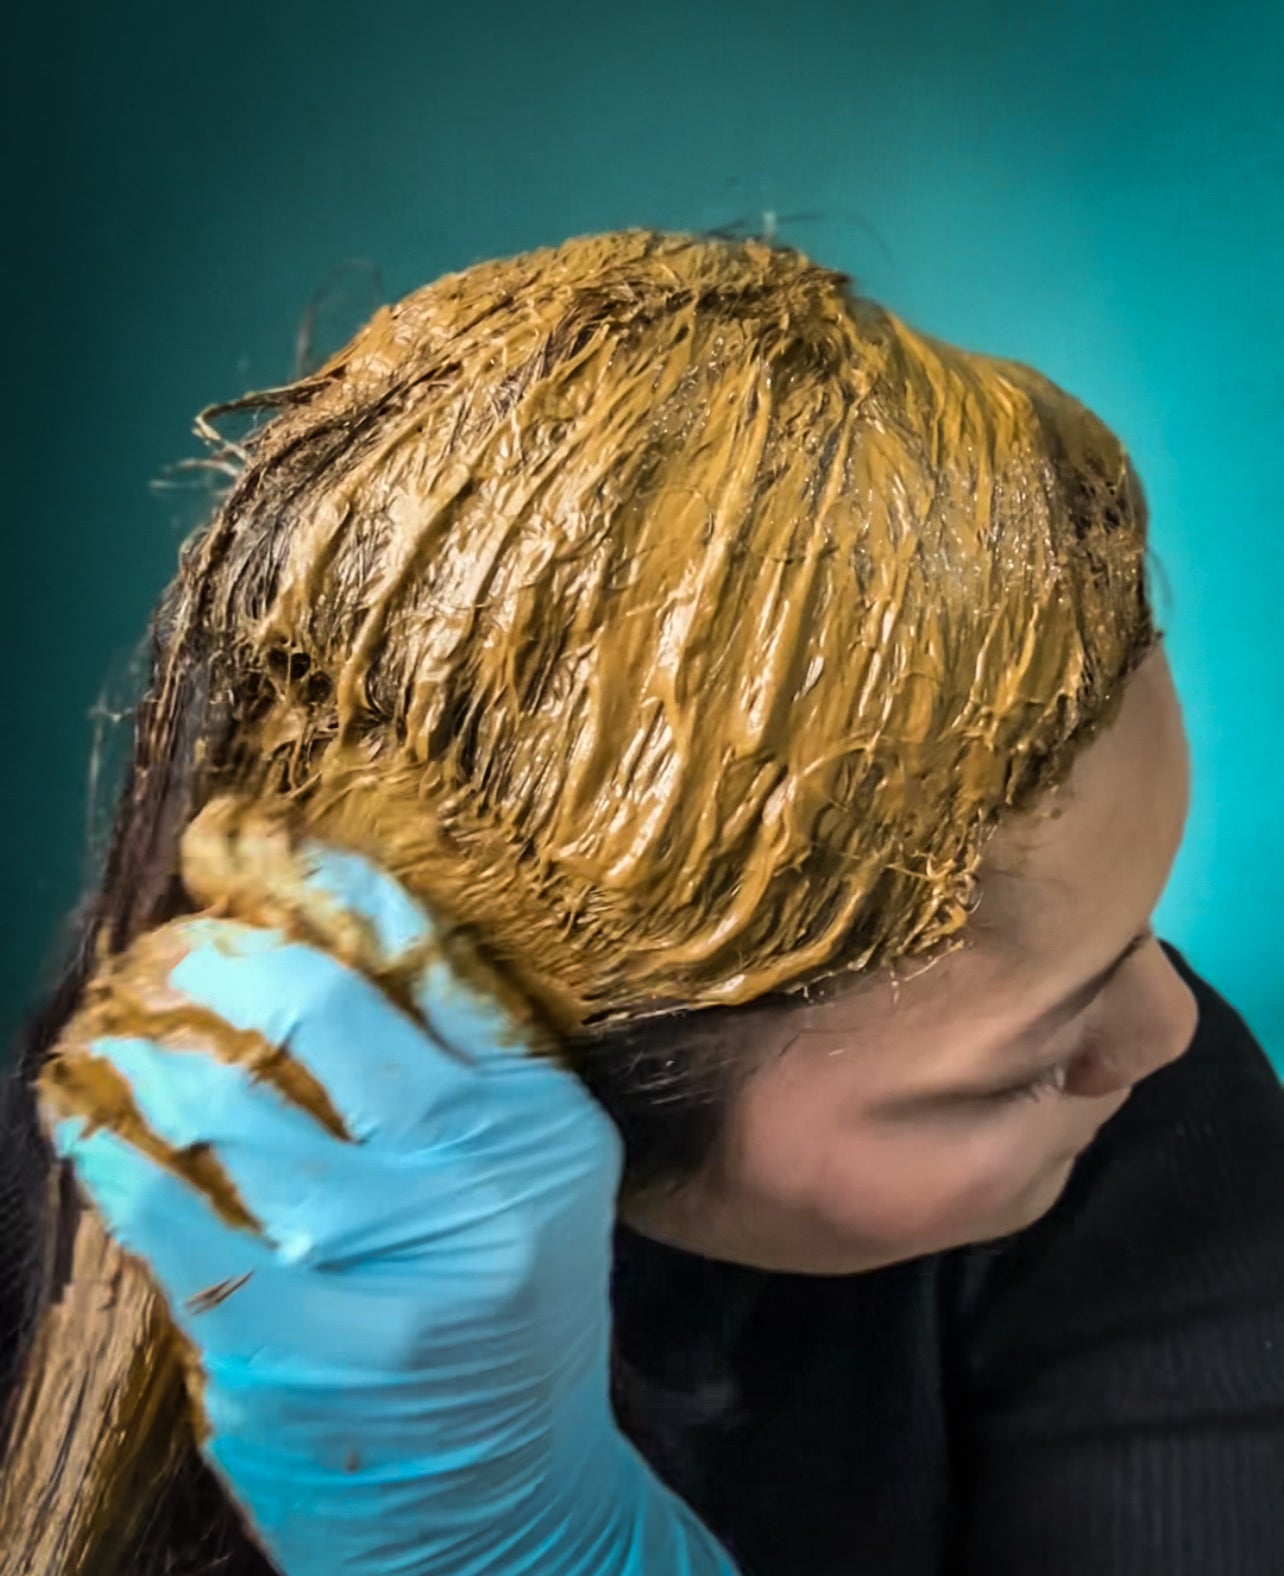
👉 If you still prefer 1-pot henna-indigo mix, make sure to apply a thick coat, especially on temples, hairline and sideburns.
👉 Add 1/2 teaspoon regular table salt to 100g indigo paste, before application. This helps indigo stick better to your hair by slightly raising the pH of the paste. Interestingly, henna likes acidic mix, while Indigo performs better in alkaline environment.
👉 Use mild heat during processing (See also: Point 6)
👉 Avoid using coconut oil on henna-indigo-treated hair. Because it can penetrate the hair fibre, it may loosen indigo pigments and accelerate colour loss during shampooing. Instead, choose sweet almond, jojoba or sesame oil.
6. Use gentle heat during processing
Want darker shade? Wear a heat cap during processing of 1-pot/1-step henna-indigo mixes. This helps open the cuticles for dye migration, proper oxidisation resulting in long lasting colour. Applying gentle heat throughout the treatment can reduce processing time by 60 to 90 minutes.

7. Give henna & indigo enough time to migrate
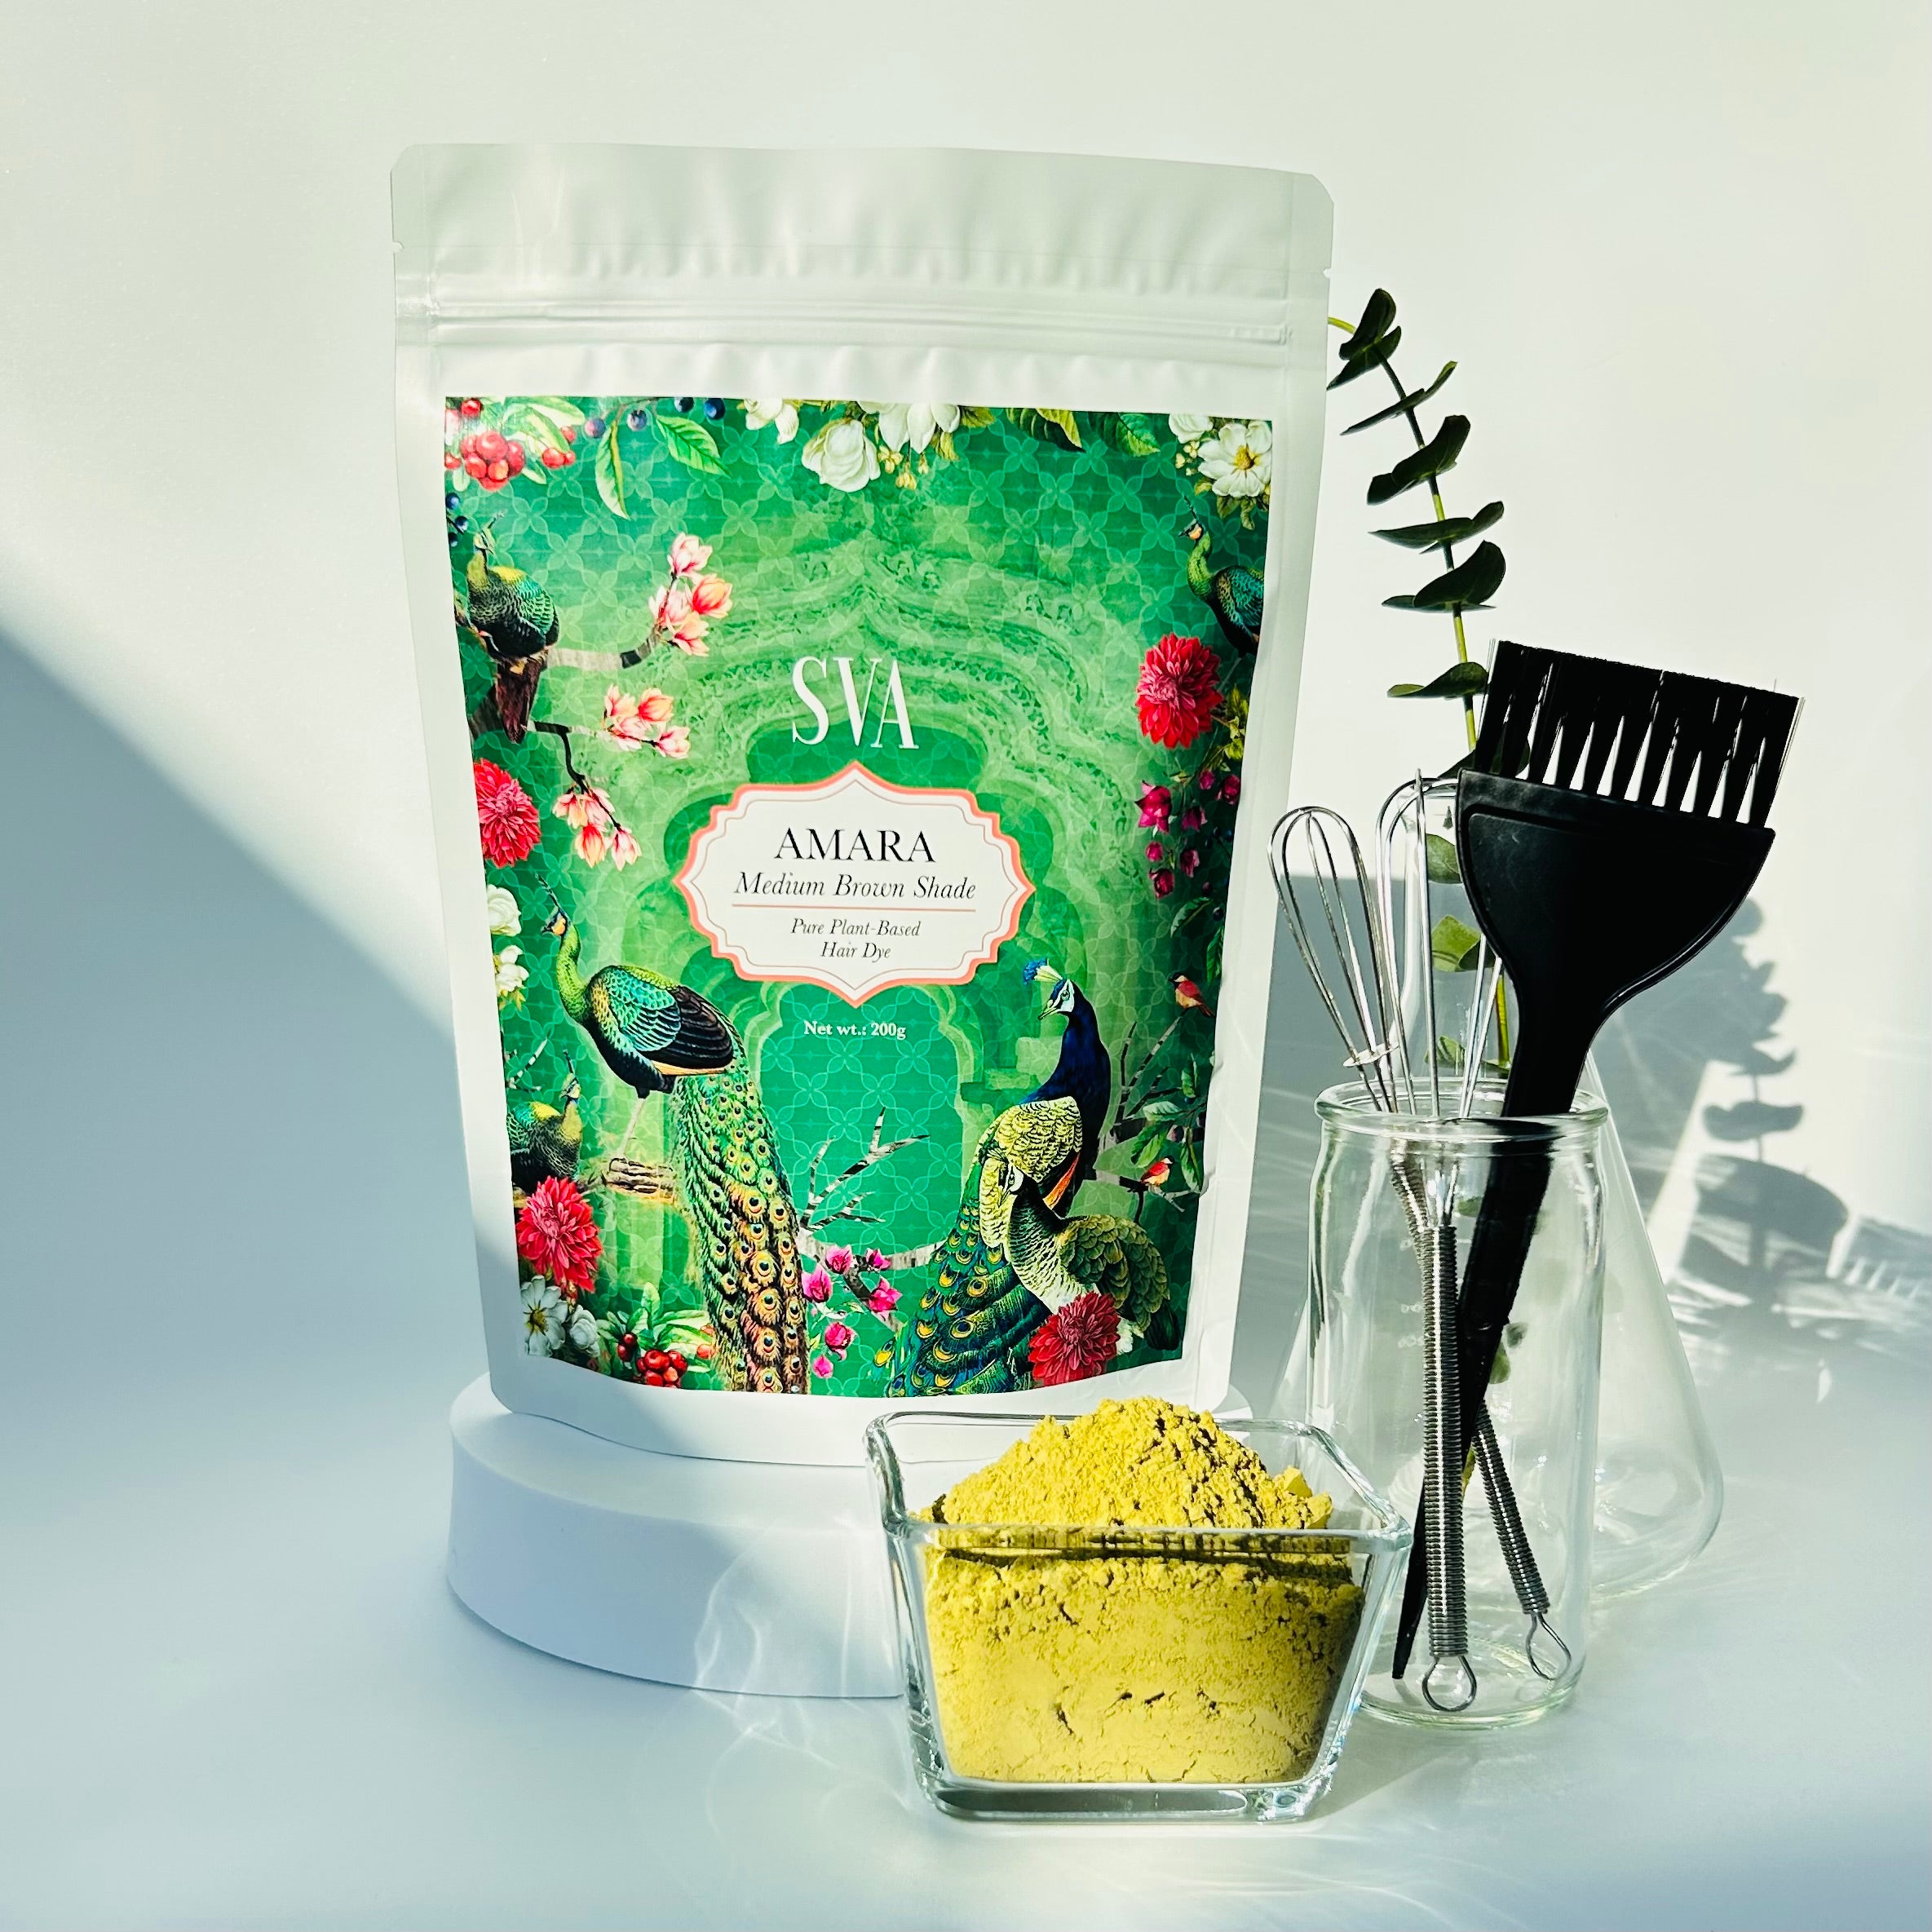
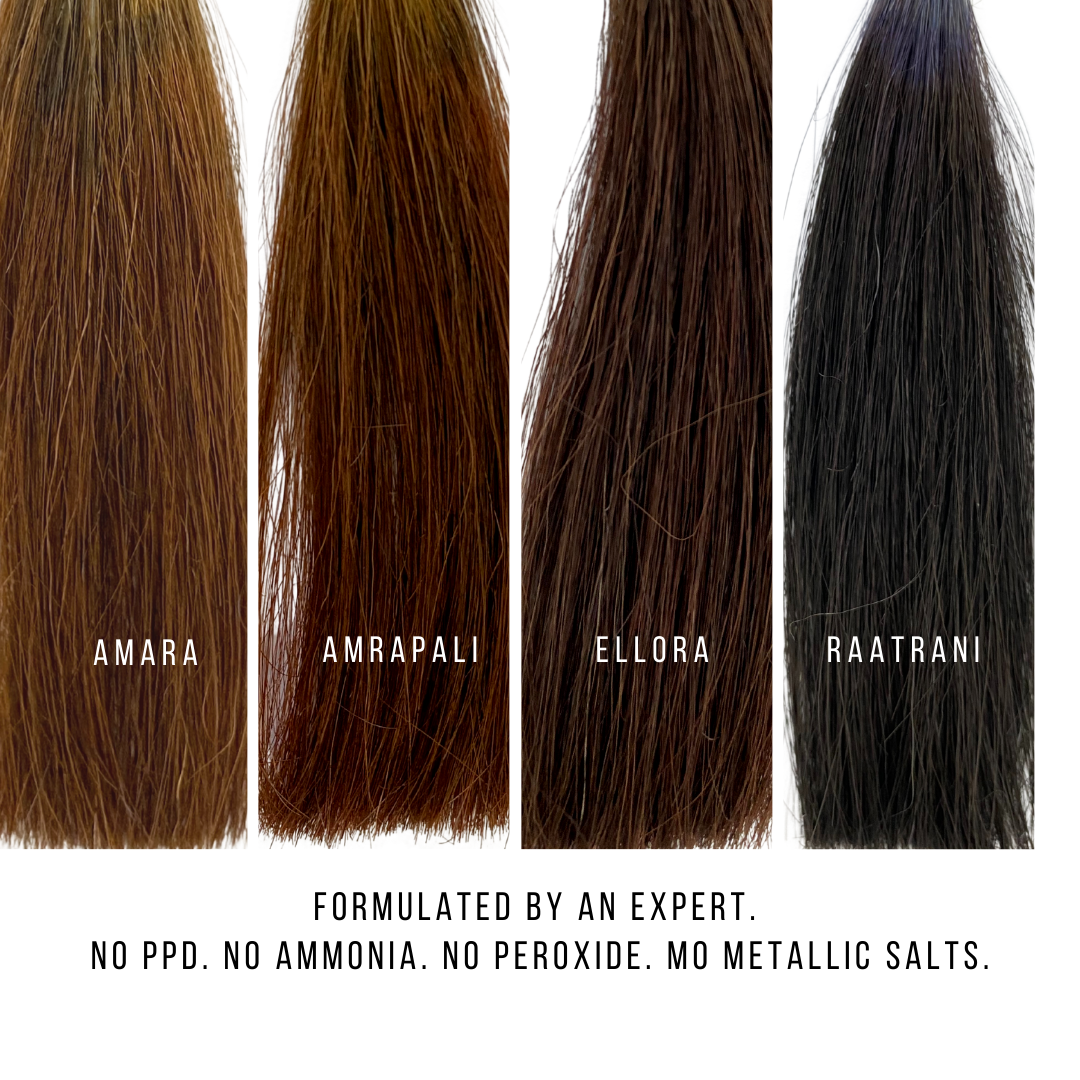
As explained in Part 2, achieving rich colour and consistent grey coverage depends on optimal saturation with henna and indigo dyes. Henna dye molecules migrate slowly, while indigo moves faster. Inadequate processing time can therefore weaken colour and coverage, especially with 1-pot henna-indigo mixes. For kits such as Amara, Amrapali or Ellora, leave the paste on the hair for at least 3–4 hours. Your ideal timing may require some trial and error. Refer to point 6 to learn how a heat cap can improve coverage and reduce processing time.
With the 2-step process, timing is more flexible because the dyes are applied separately. Process henna for 2–3 hours for coverage, or 4–6 hours for deeper conditioning of dry, frizzy hair. Process indigo or plant toner for 60 minutes.

8. Rinse with warm to cold water
Always, no exceptions. Avoid hot water. After processing, rinse the paste out with warm to cold water. Avoid hot water, especially after henna-indigo.
9. Use a gentle, low-pH shampoo
Hot water & harsh surfactants strip indigo pigment from hair shaft, fading the colour quicker or making it warmer. Opt for shampoos with low pH. Many drugstore brands sell shampoos for 'colour treated hair' which have low pH.
10. Avoid frequent shampooing
Frequent shampooing can dull your hair colour. Repeated washing with hot water, strong surfactants like clarifying shampoo, antidandruff, anti-fungal shampoos can make the surface colour look dull. Indigo-heavy shades may fade or turn warmer more easily.
11. Finish with an acidic rinse if needed
Use diluted ACV hair rinse by combining 1/2 teaspoon apple cider vinegar diluted in 1 cup water and sprayed on freshly shampooed hair. This will help close the cuticles quickly post shampoo and retain the colour longer.

12. Choose the right combination based on your colour contrast
If the contrast between your greys and coloured hair is high, go for the 2-step process for even colour and flawless coverage. If the contrast is low, go for 1-pot henna & indigo mix. Choosing the wrong combination can result in uneven colour and unblended grey coverage. We provide complimentary product recommendations to help you make the right decision to cover your greys.

13. Blending of dyes
When using 1-pot henna-indigo mixes, remember that both dyes are competing to migrate, bind and oxidise simultaneously. Henna binding alone will leave hair orange, while indigo binding alone will leave it uncovered. For best colour and coverage, make sure to blend the 2 paste thoroughly before application. This is a crucial step.

14. Stay consistent with plant dyes
Plant dyes are cumulative. With consistent use, the colour layers better and the hair often starts looking smoother, shinier and healthier. I have seen this repeatedly with women who stay consistent for 6 to 9 months. The hair seems to respond better to the routine over time.
15. Consider your hair's protein health
Henna binds to keratin, the structural protein in hair. If your hair has a depleted protein structure due to heat damage, excessive chemical treatments or nutritional deficiencies, it can affect how plant dyes bind. Protein-depleted hair may show poor colour results due to a lack of available binding sites inside the hair shaft. In such cases, we recommend a monthly 2-step application for at least 6 months. With consistent dye build-up, you will notice a visible improvement in hair texture and shine.

The Bottom Line
Plant dyes reward consistency. When henna and indigo are used with the right preparation, timing, warmth and aftercare, they can give colour that looks natural, intentional and beautifully layered over time. The goal is not just darker hair — it is healthier-looking hair, better grey blending, and a colouring routine that works with your hair biology instead of fighting it.
We offer a complimentary hair consultation to take the guesswork out of your plant-based hair colour routine. Connect with our customer care team on WhatsApp for personalised guidance.

Missed the science? Start with Part 1 on henna longevity here and Part 2 on how indigo dyes hair here.






0 comments